 Image 1 of 11

 Image 2 of 11

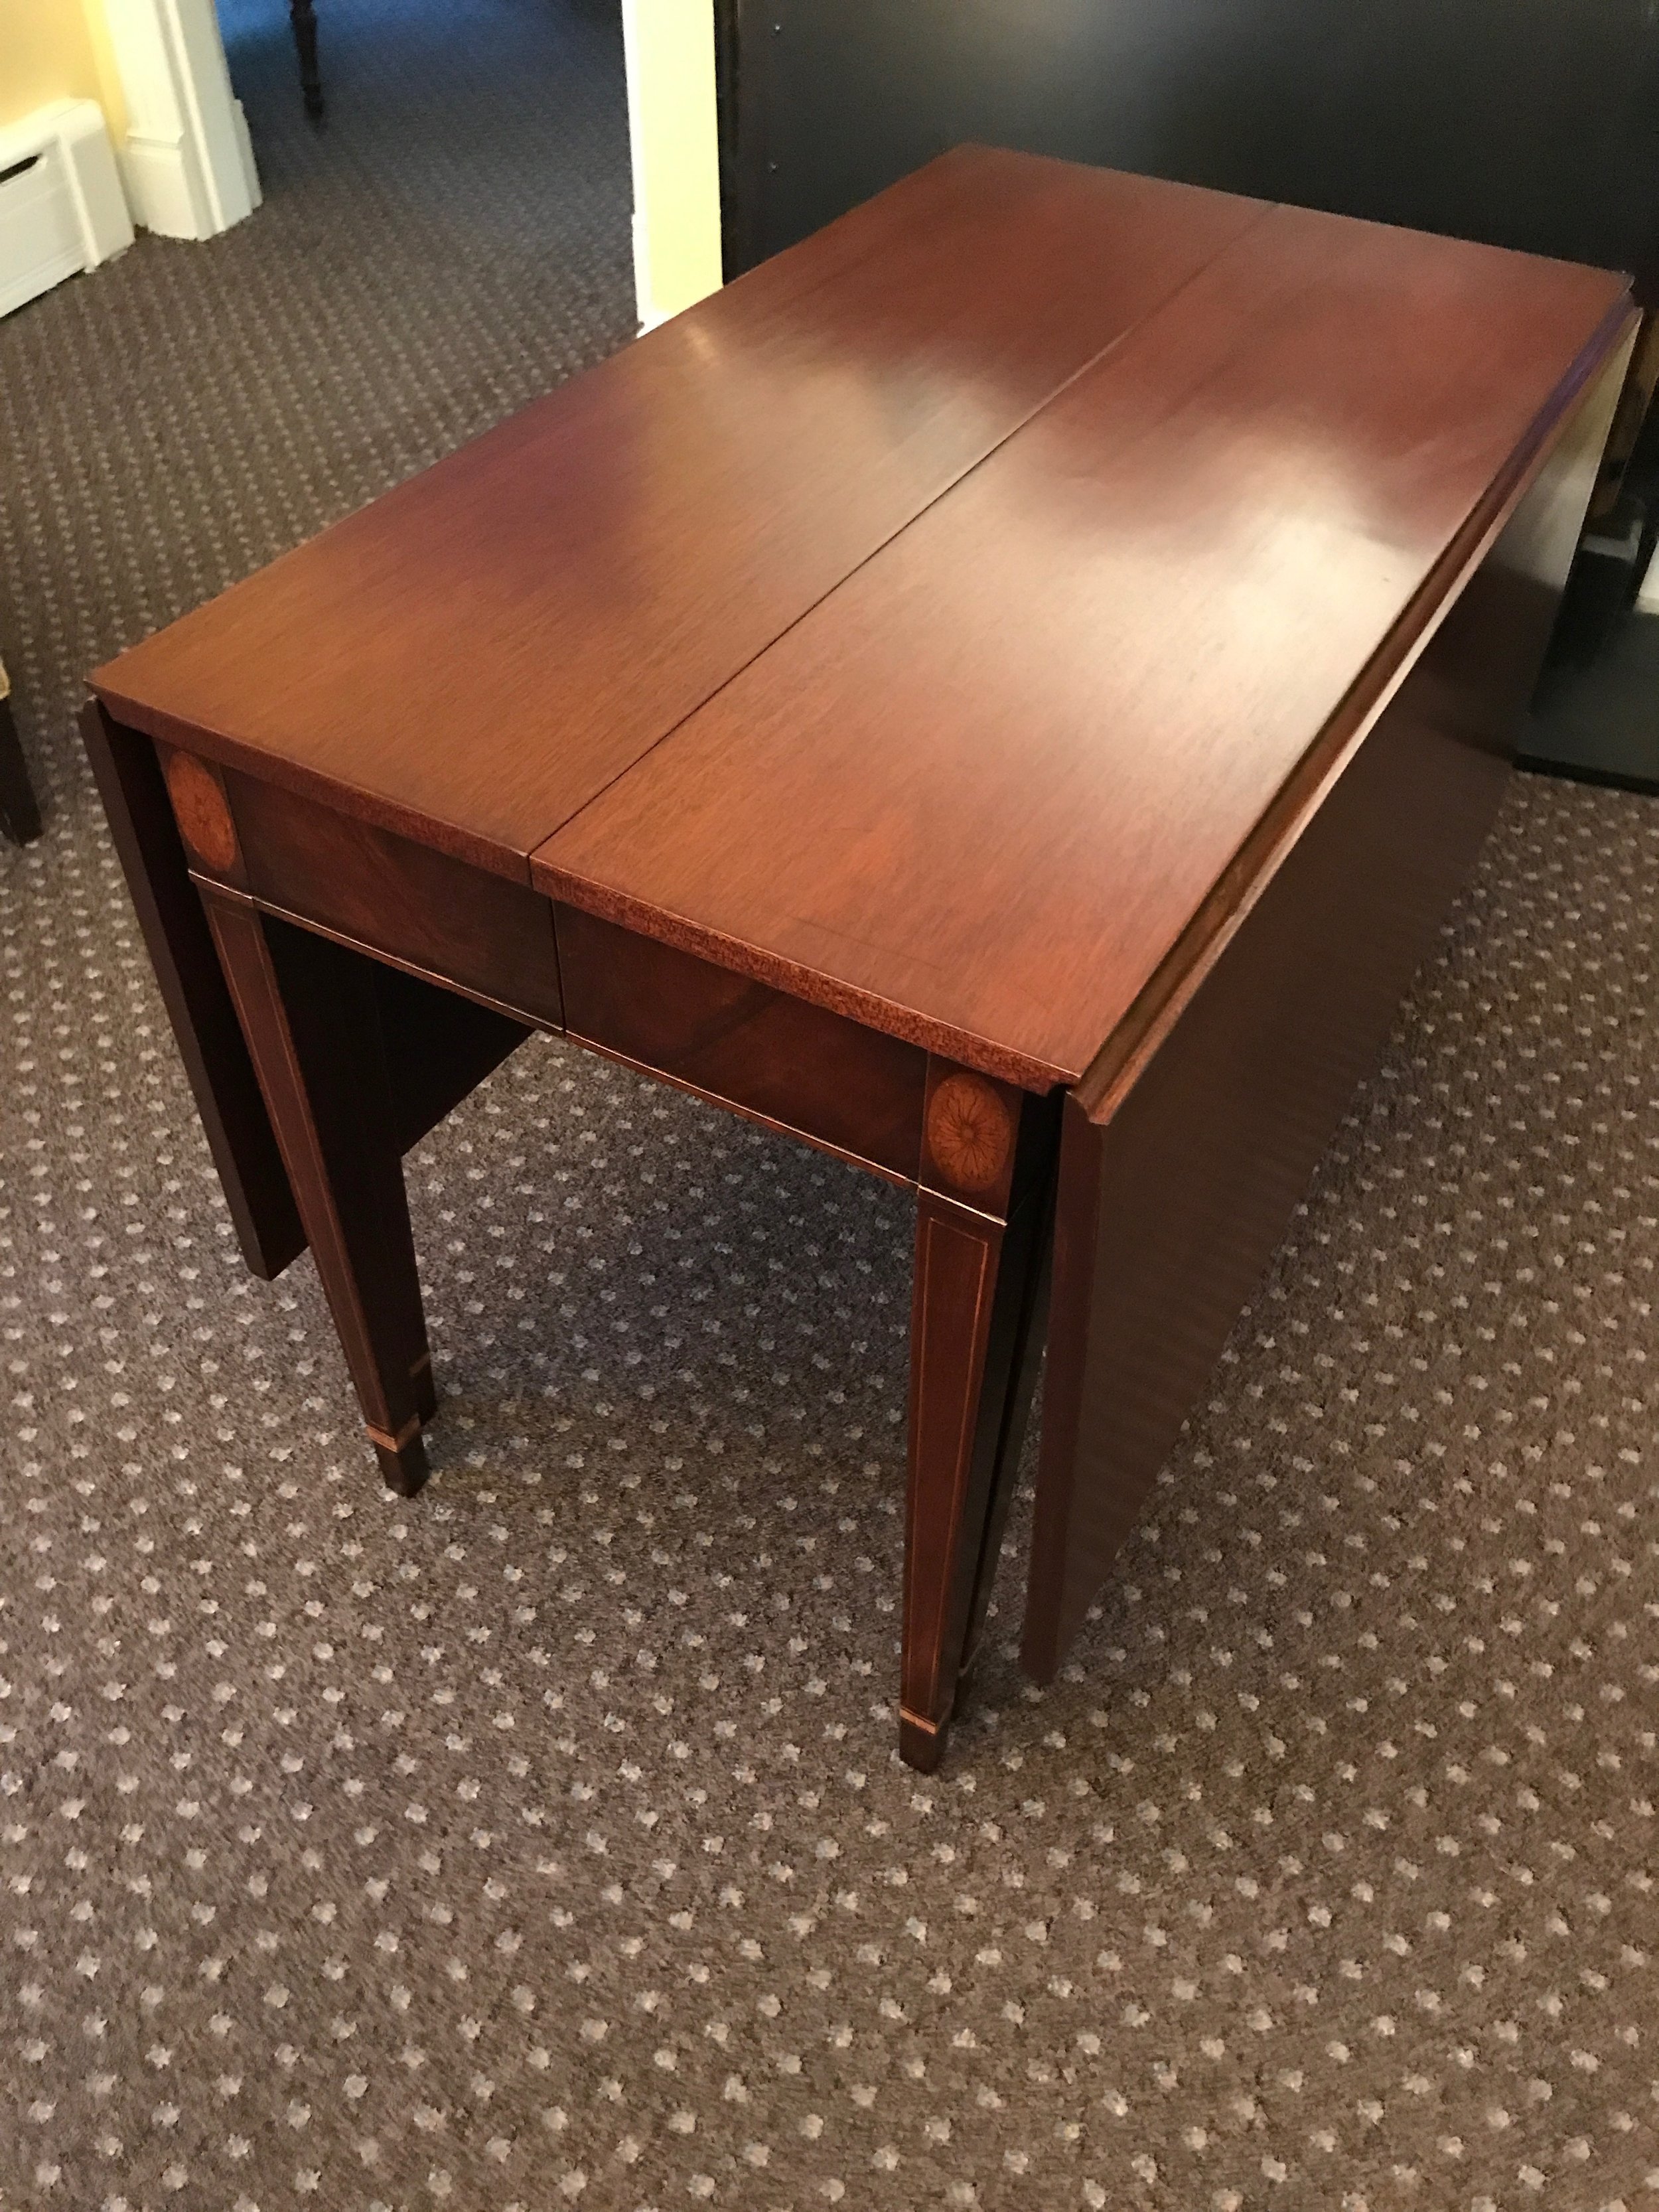 Image 3 of 11

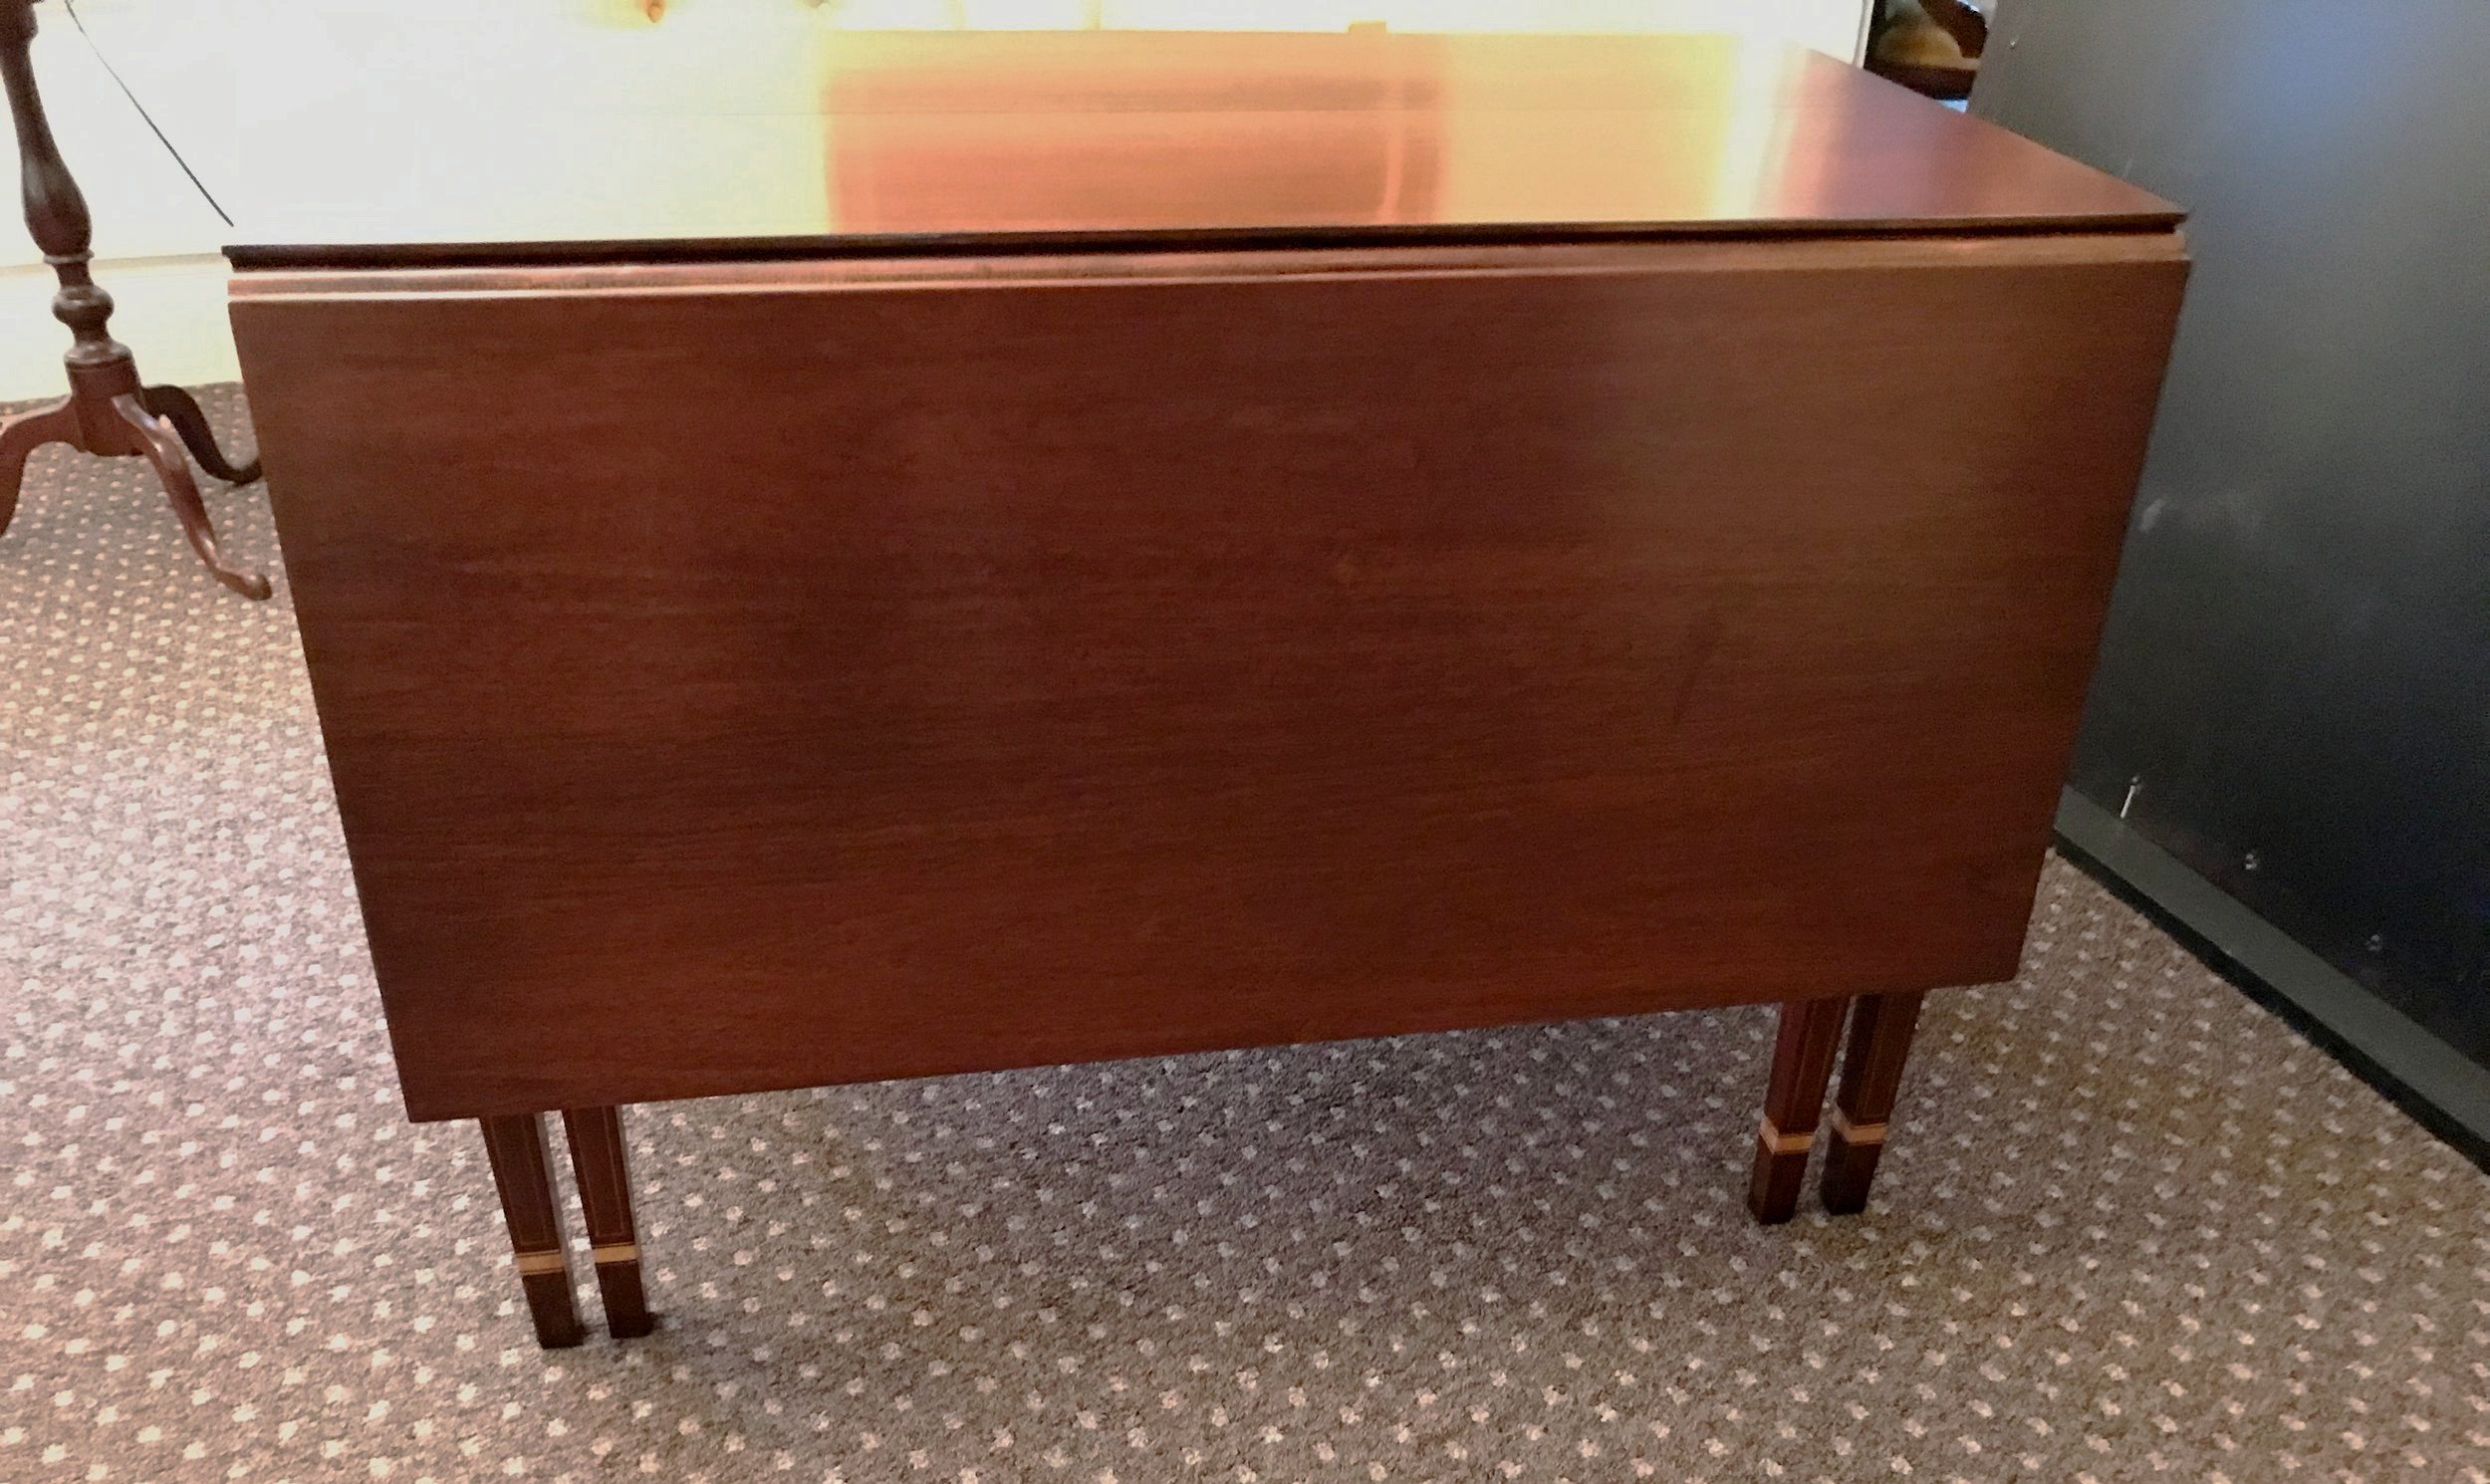 Image 4 of 11

 Image 5 of 11

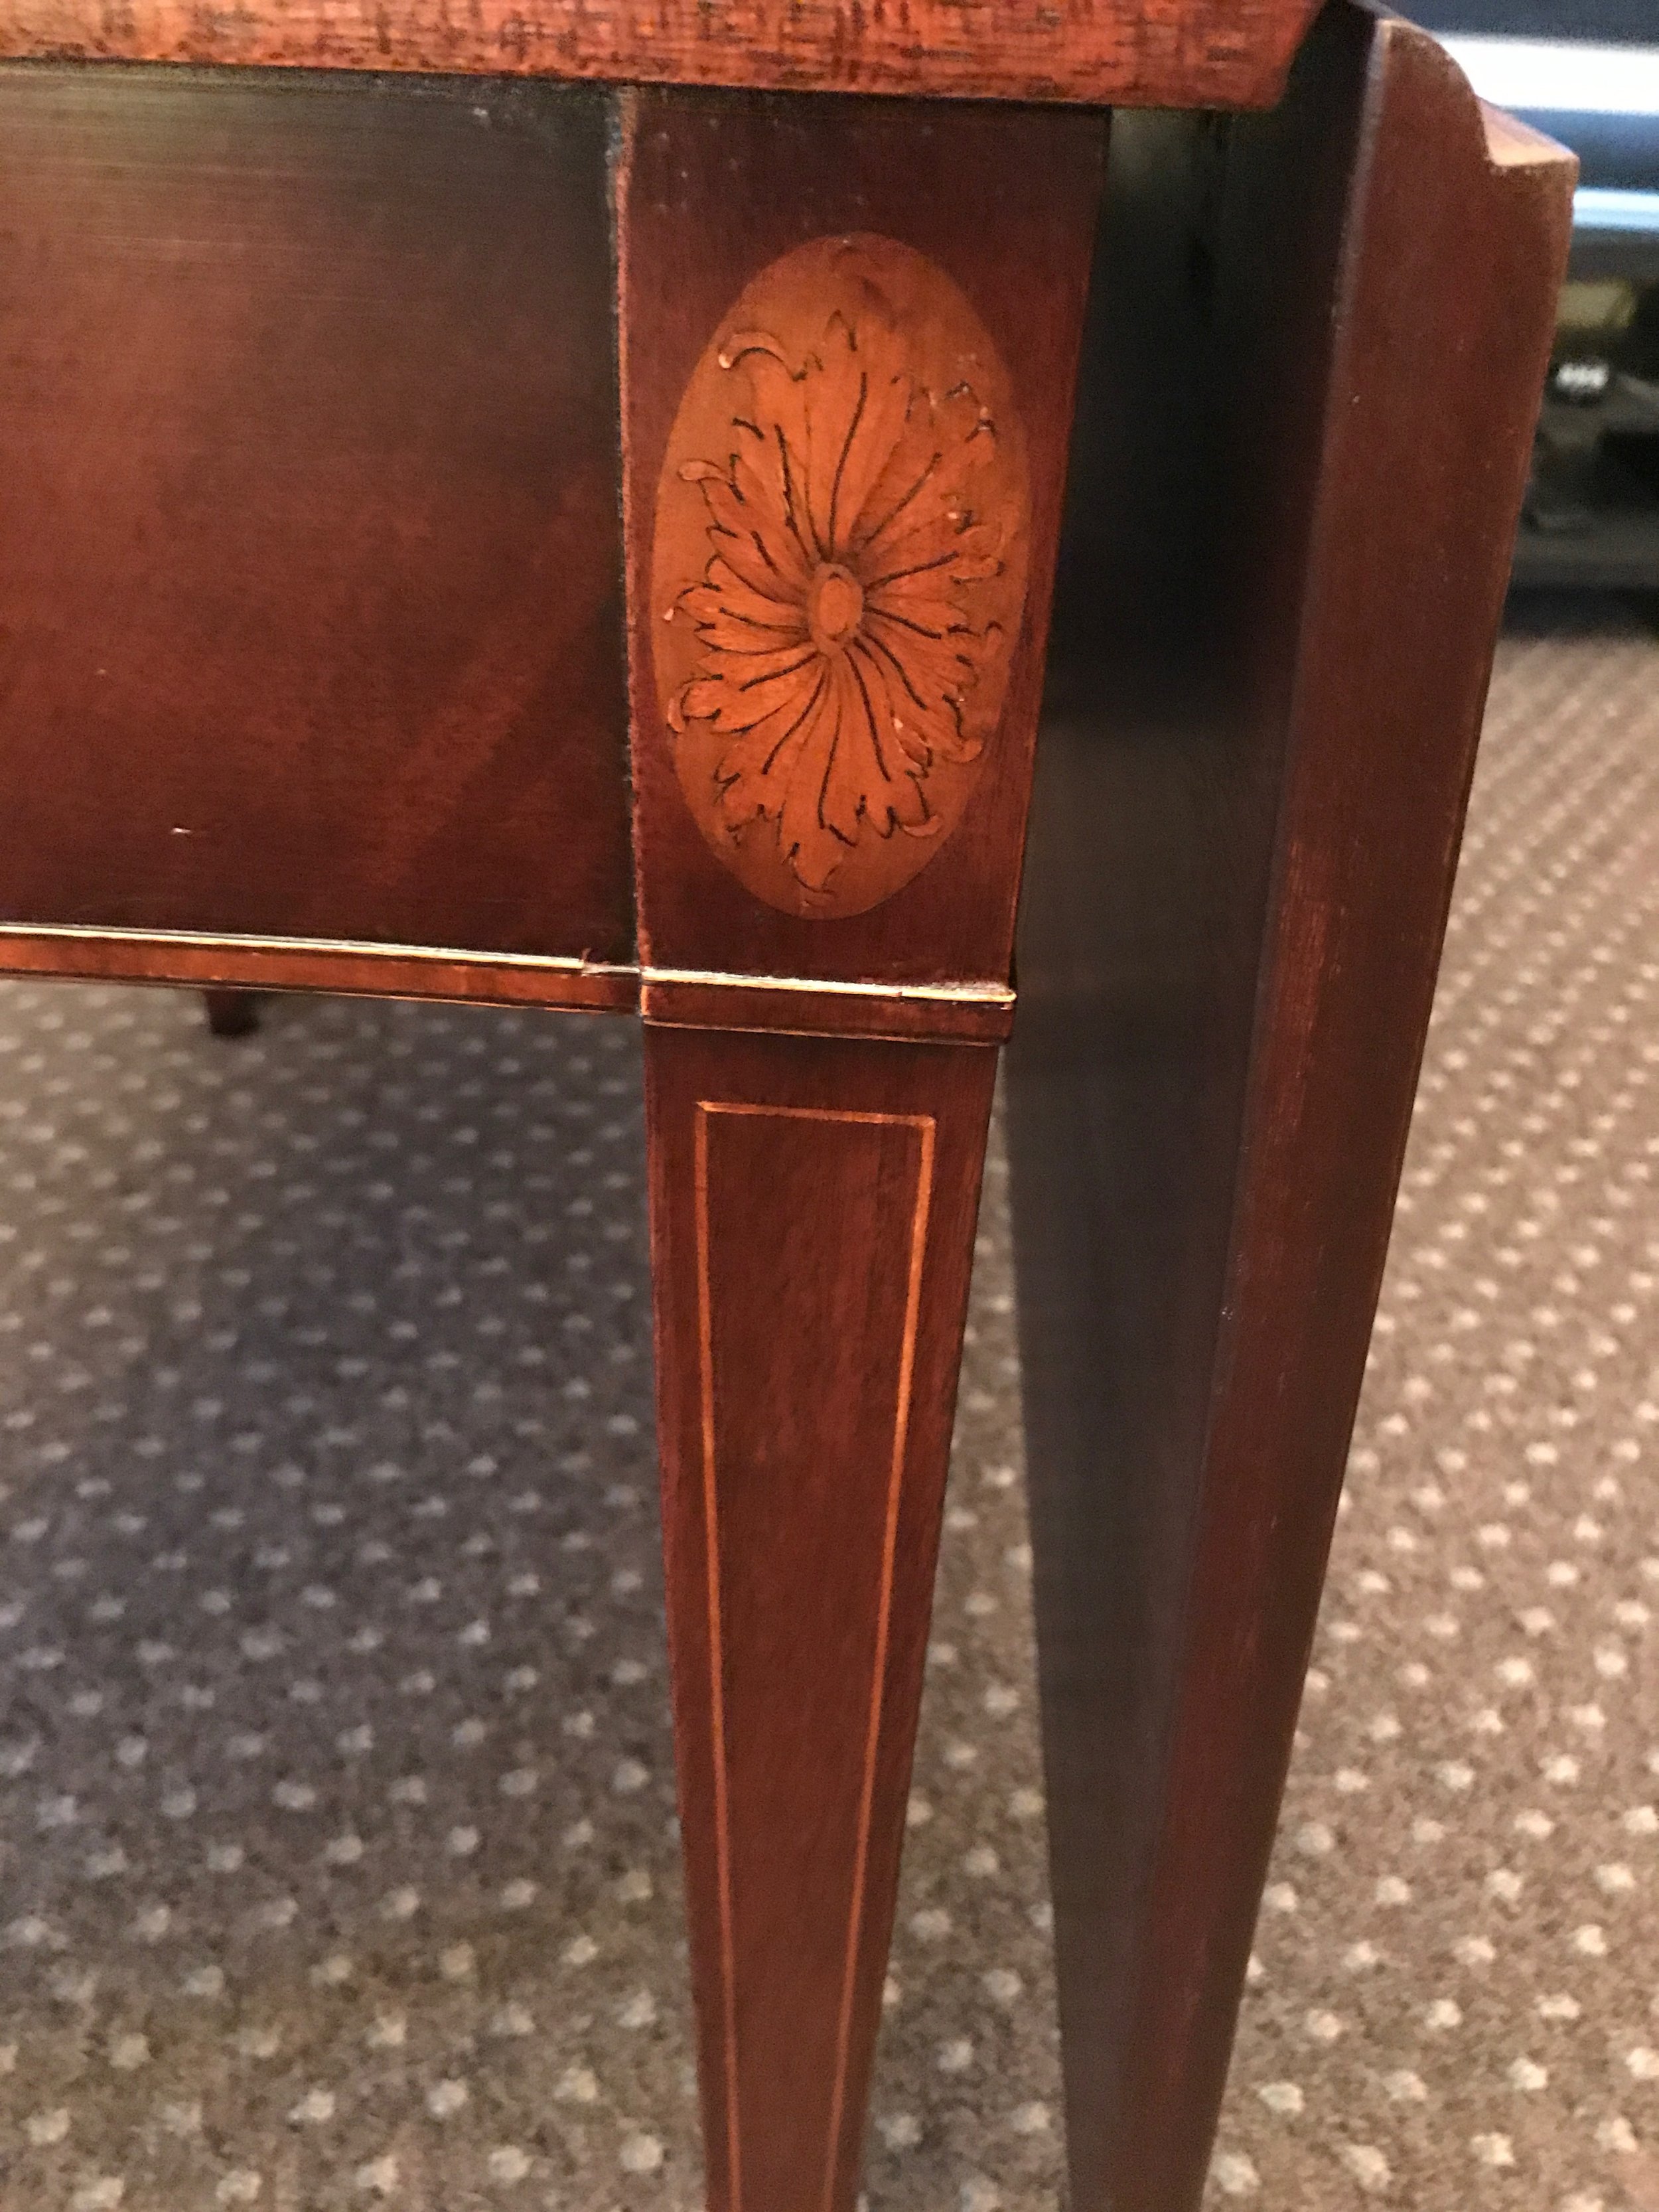 Image 6 of 11

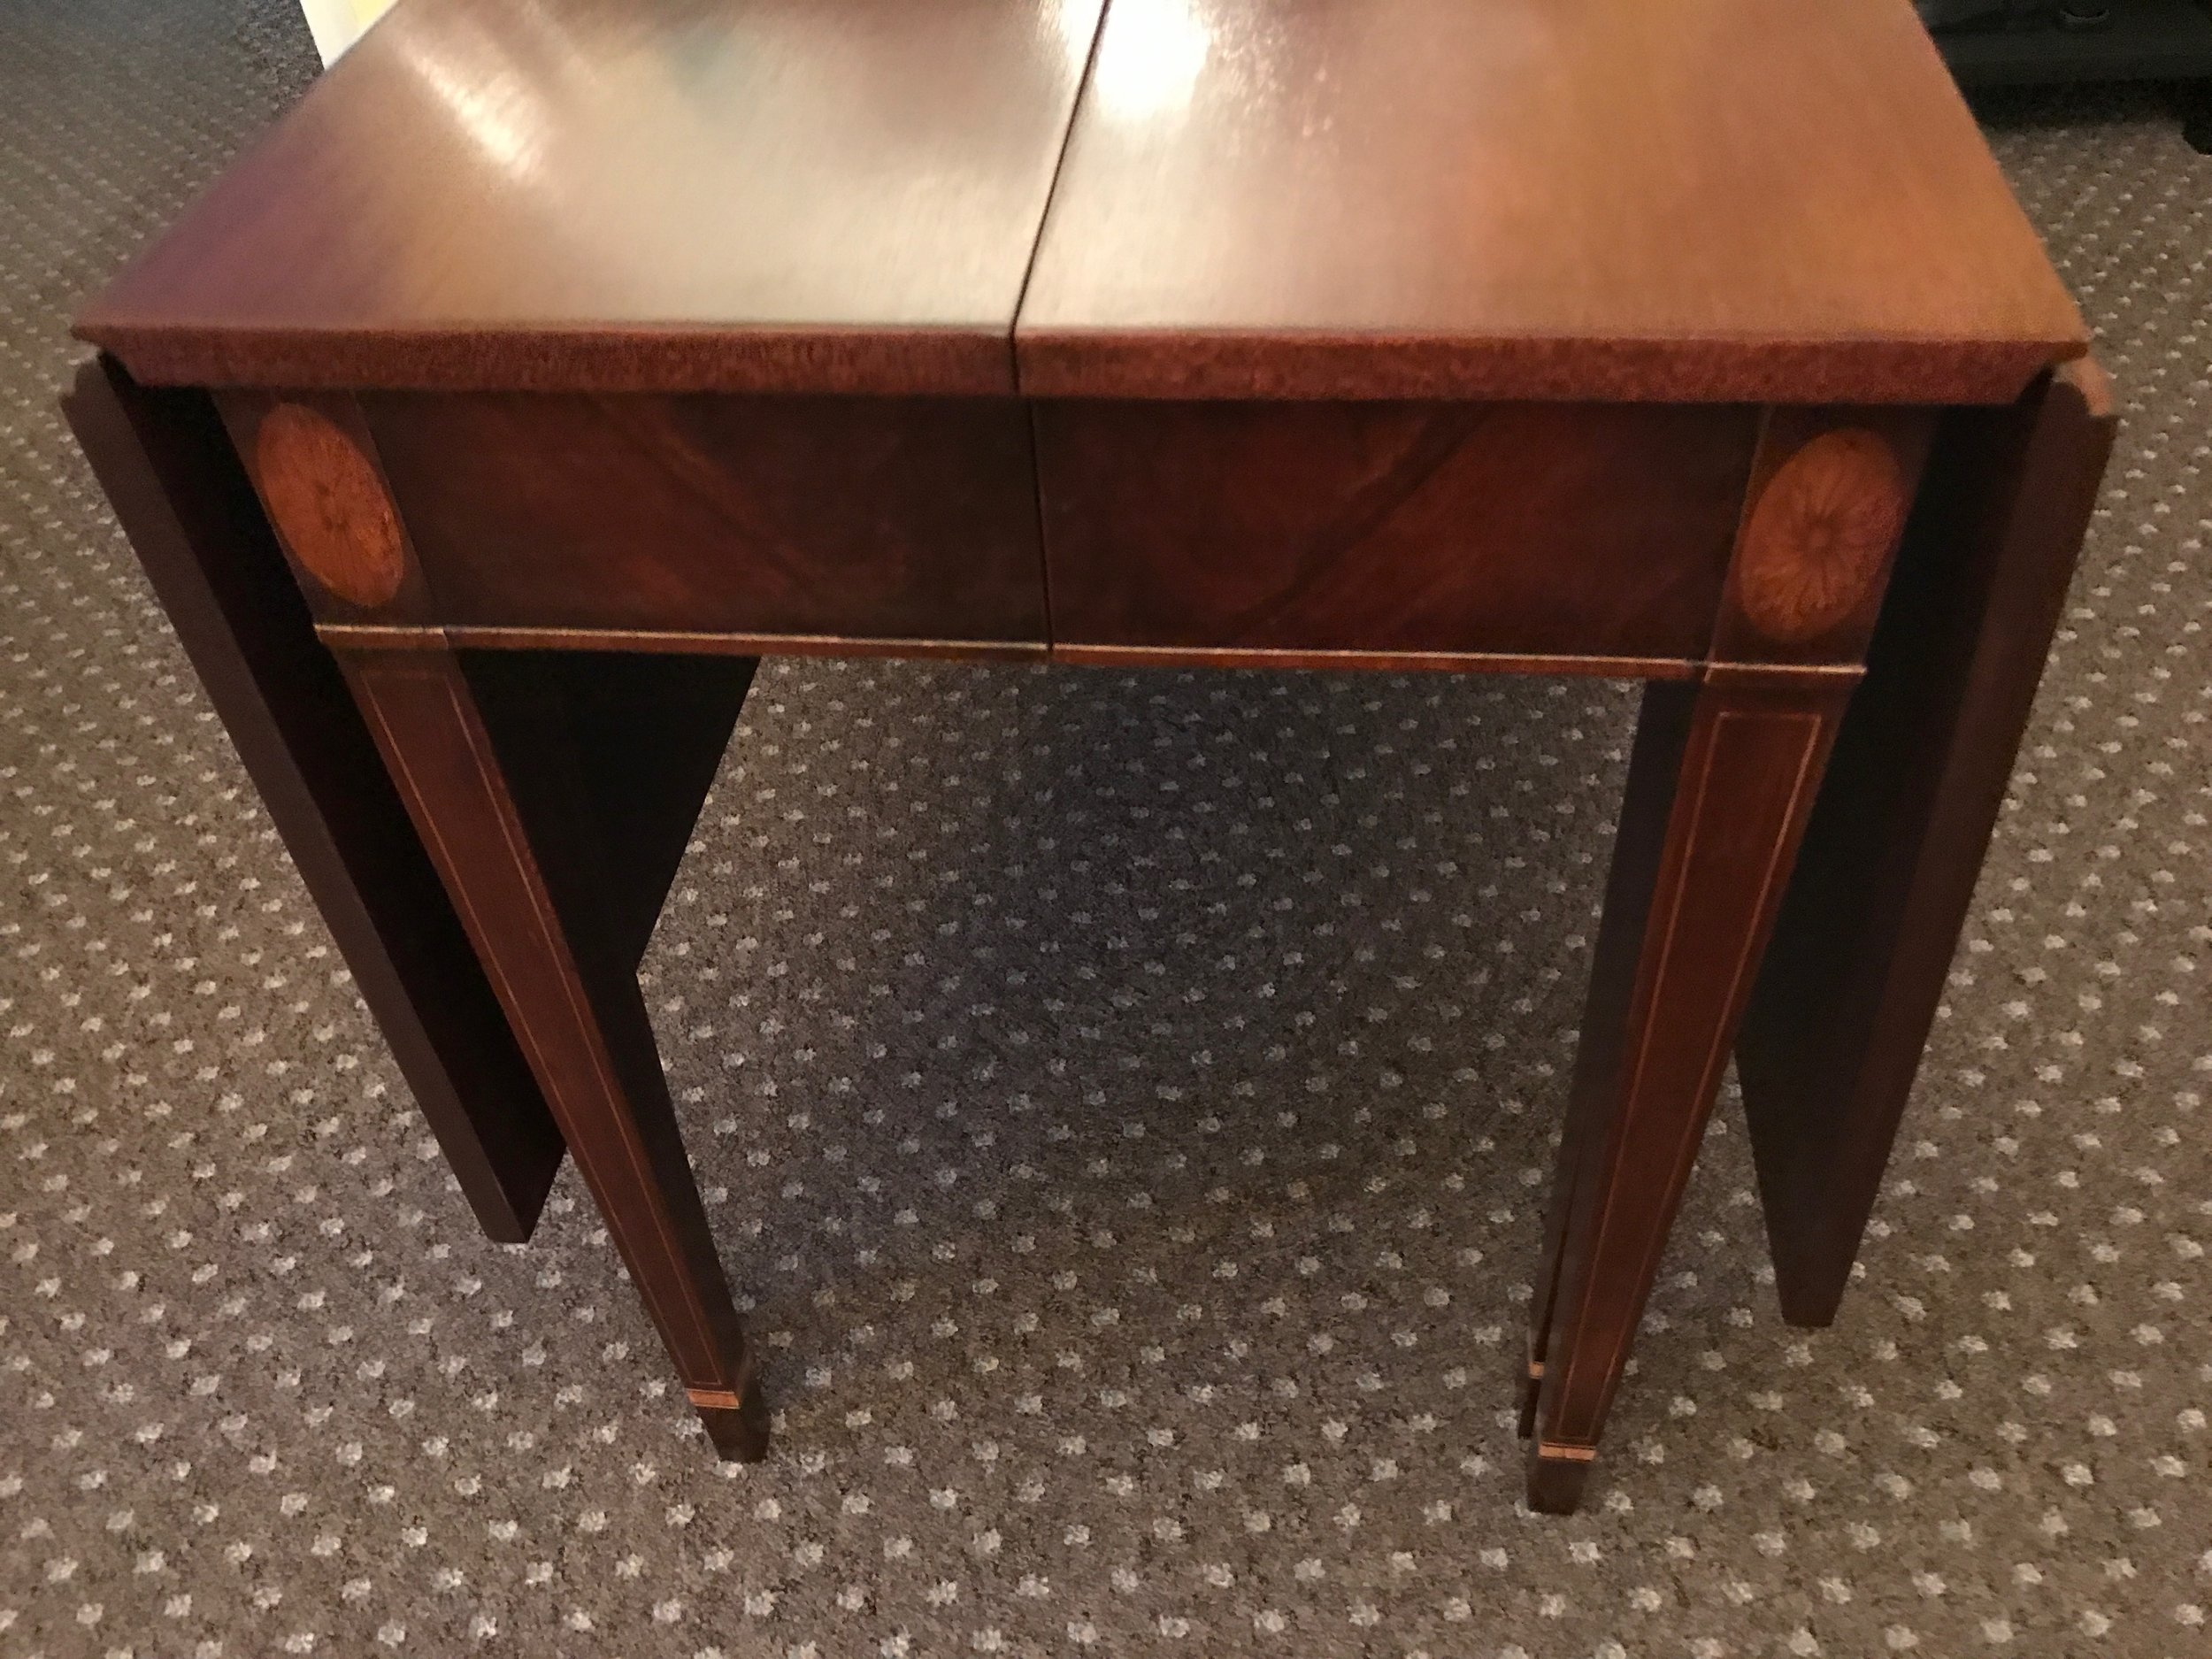 Image 7 of 11

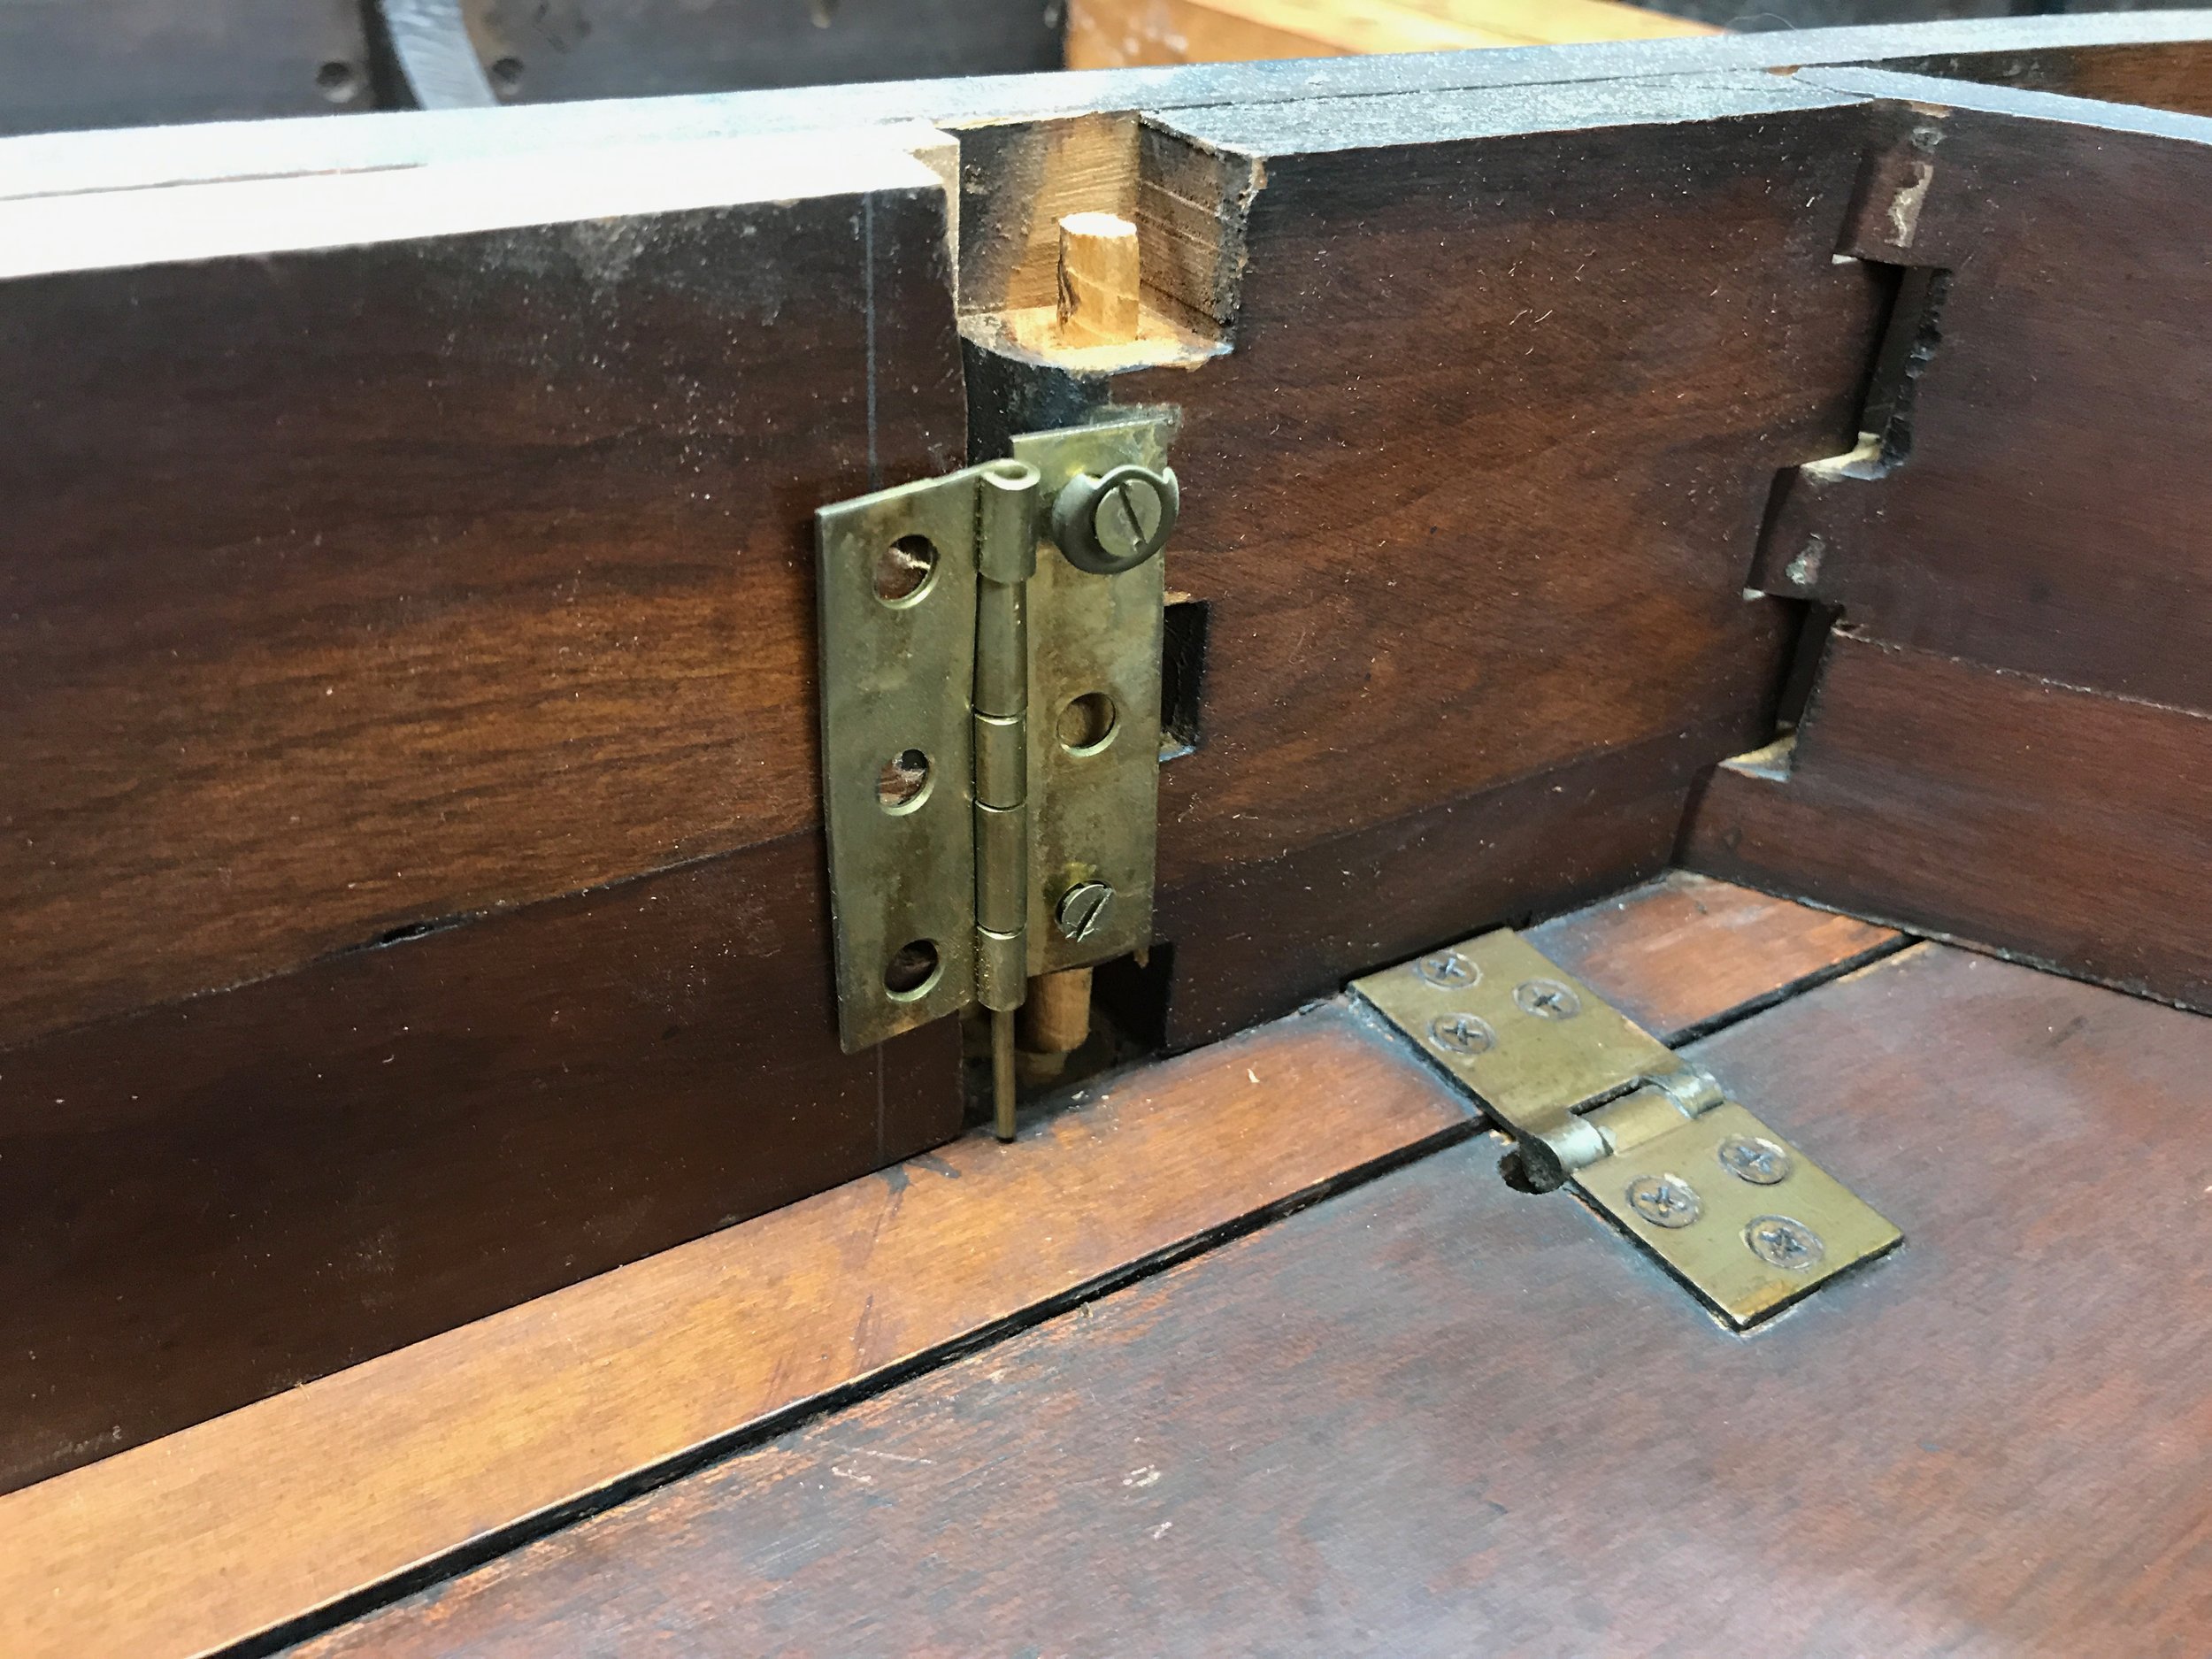 Image 8 of 11

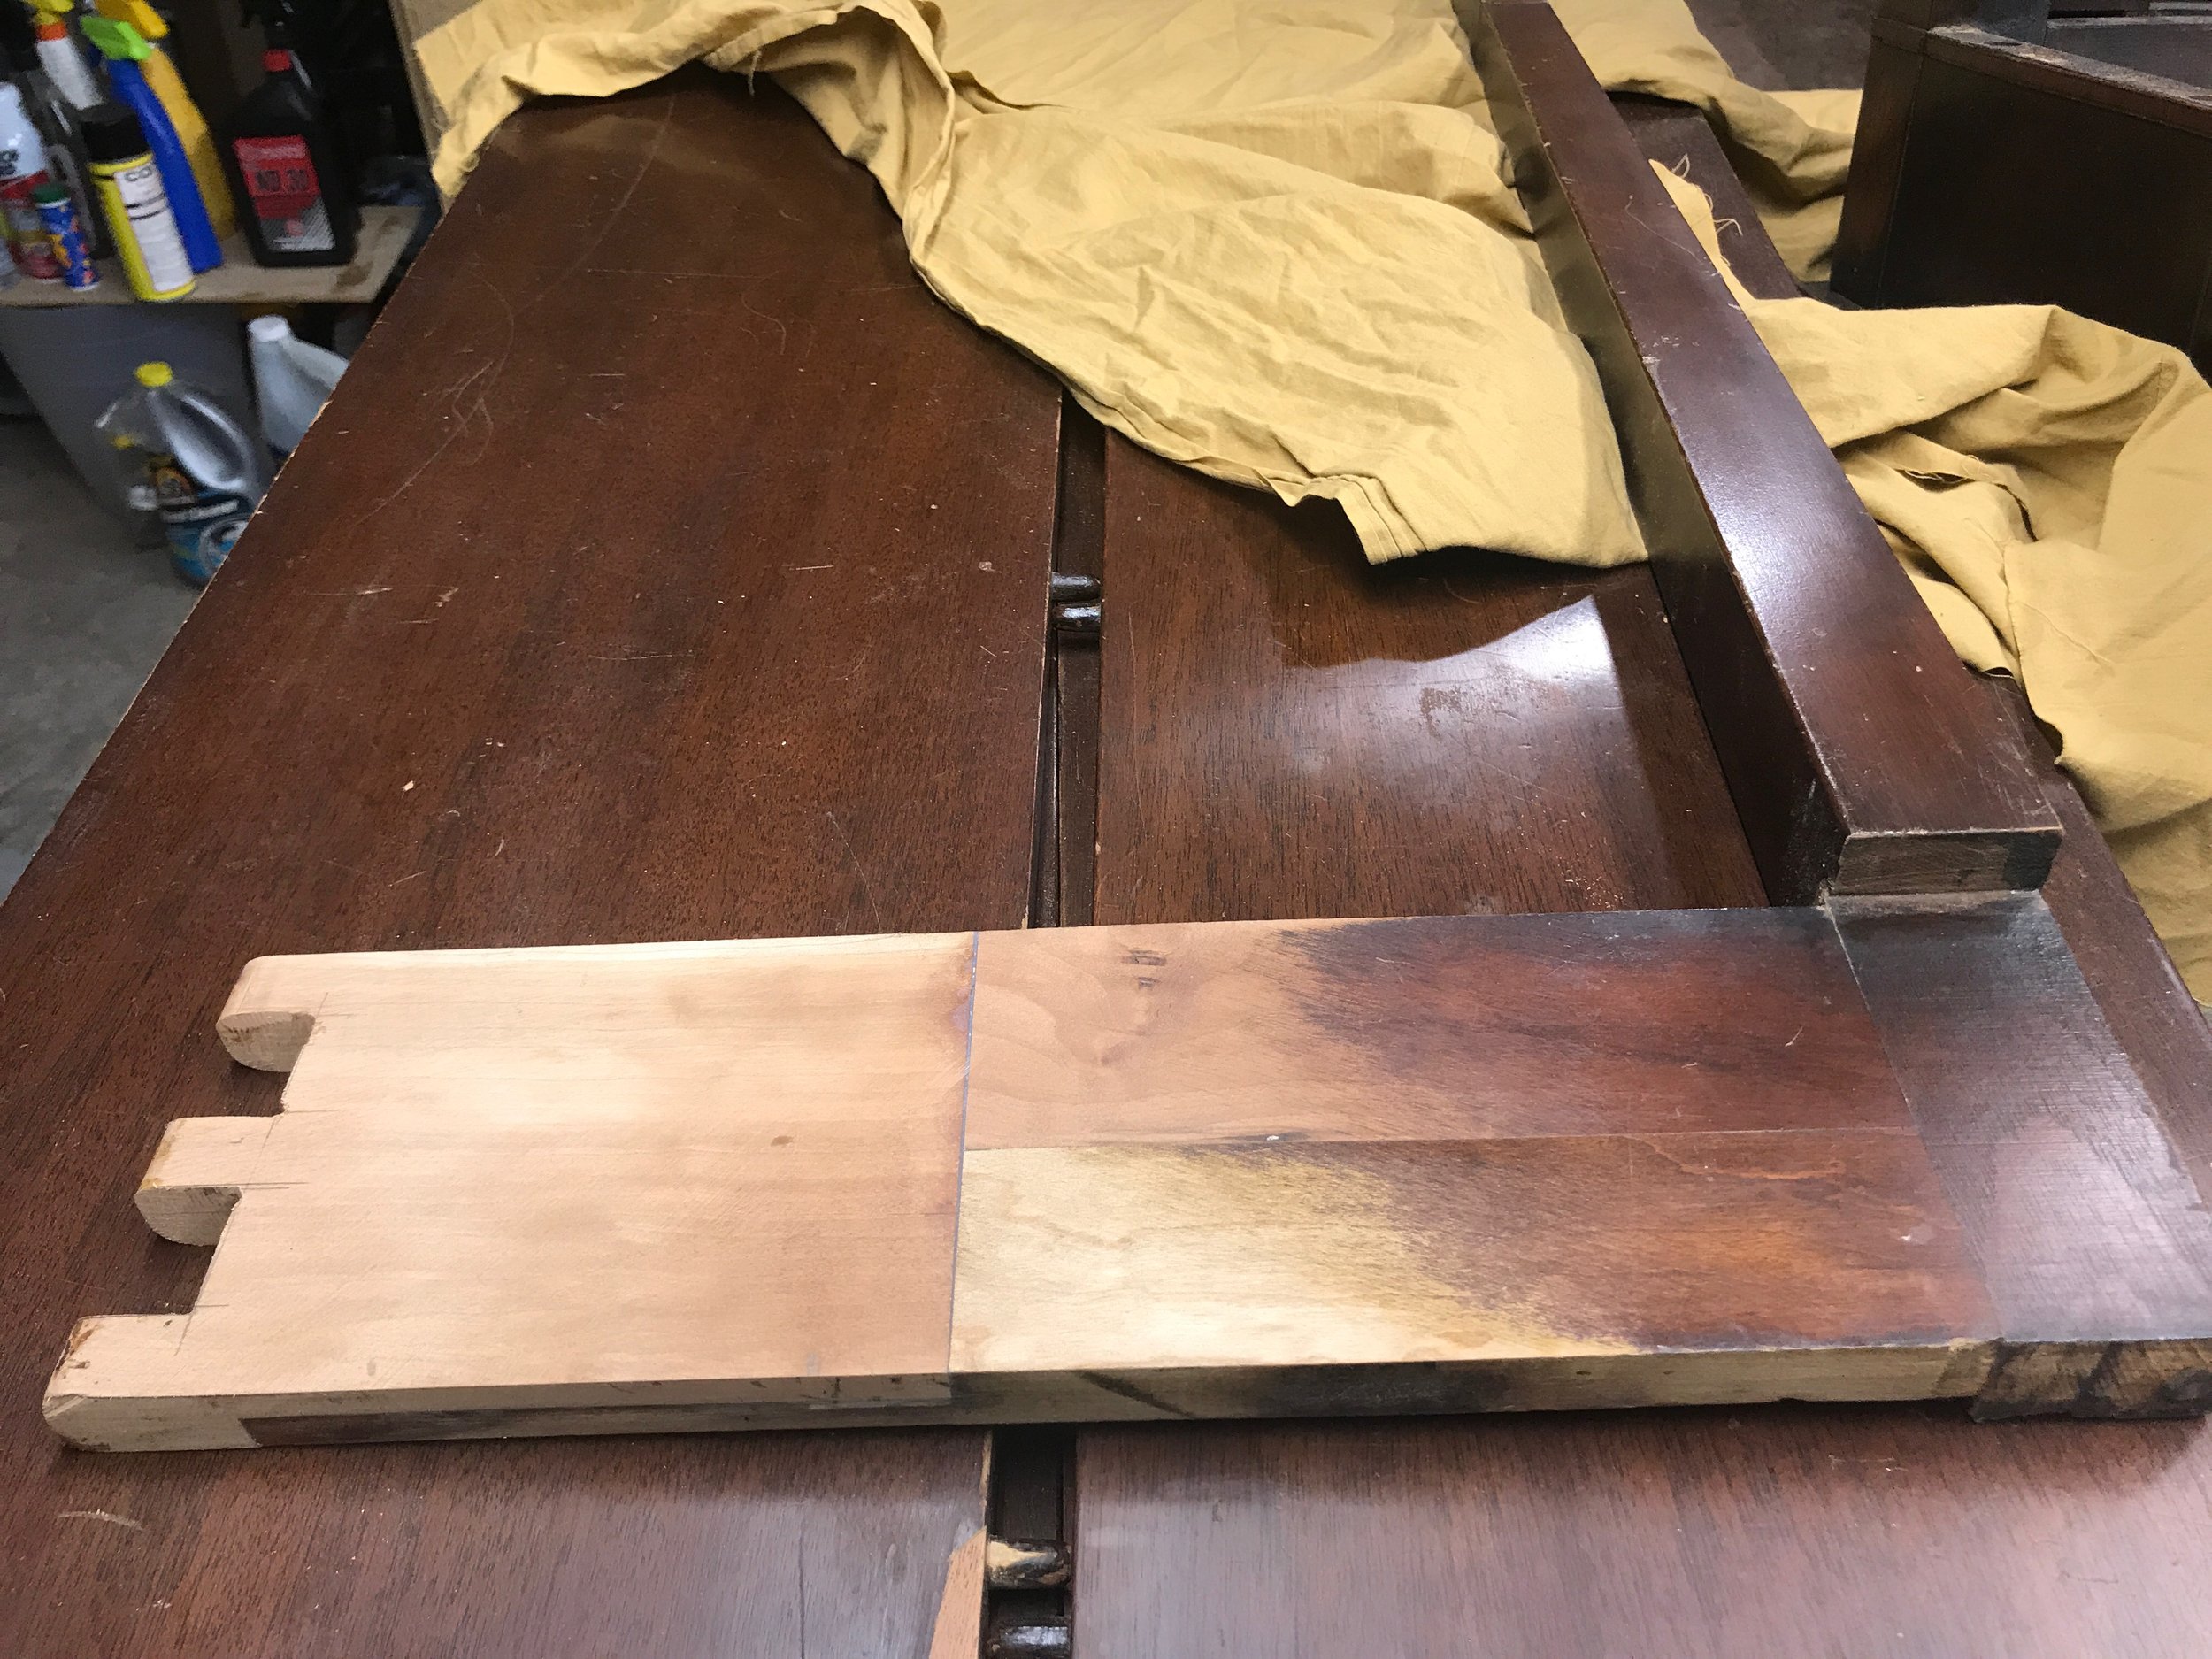 Image 9 of 11

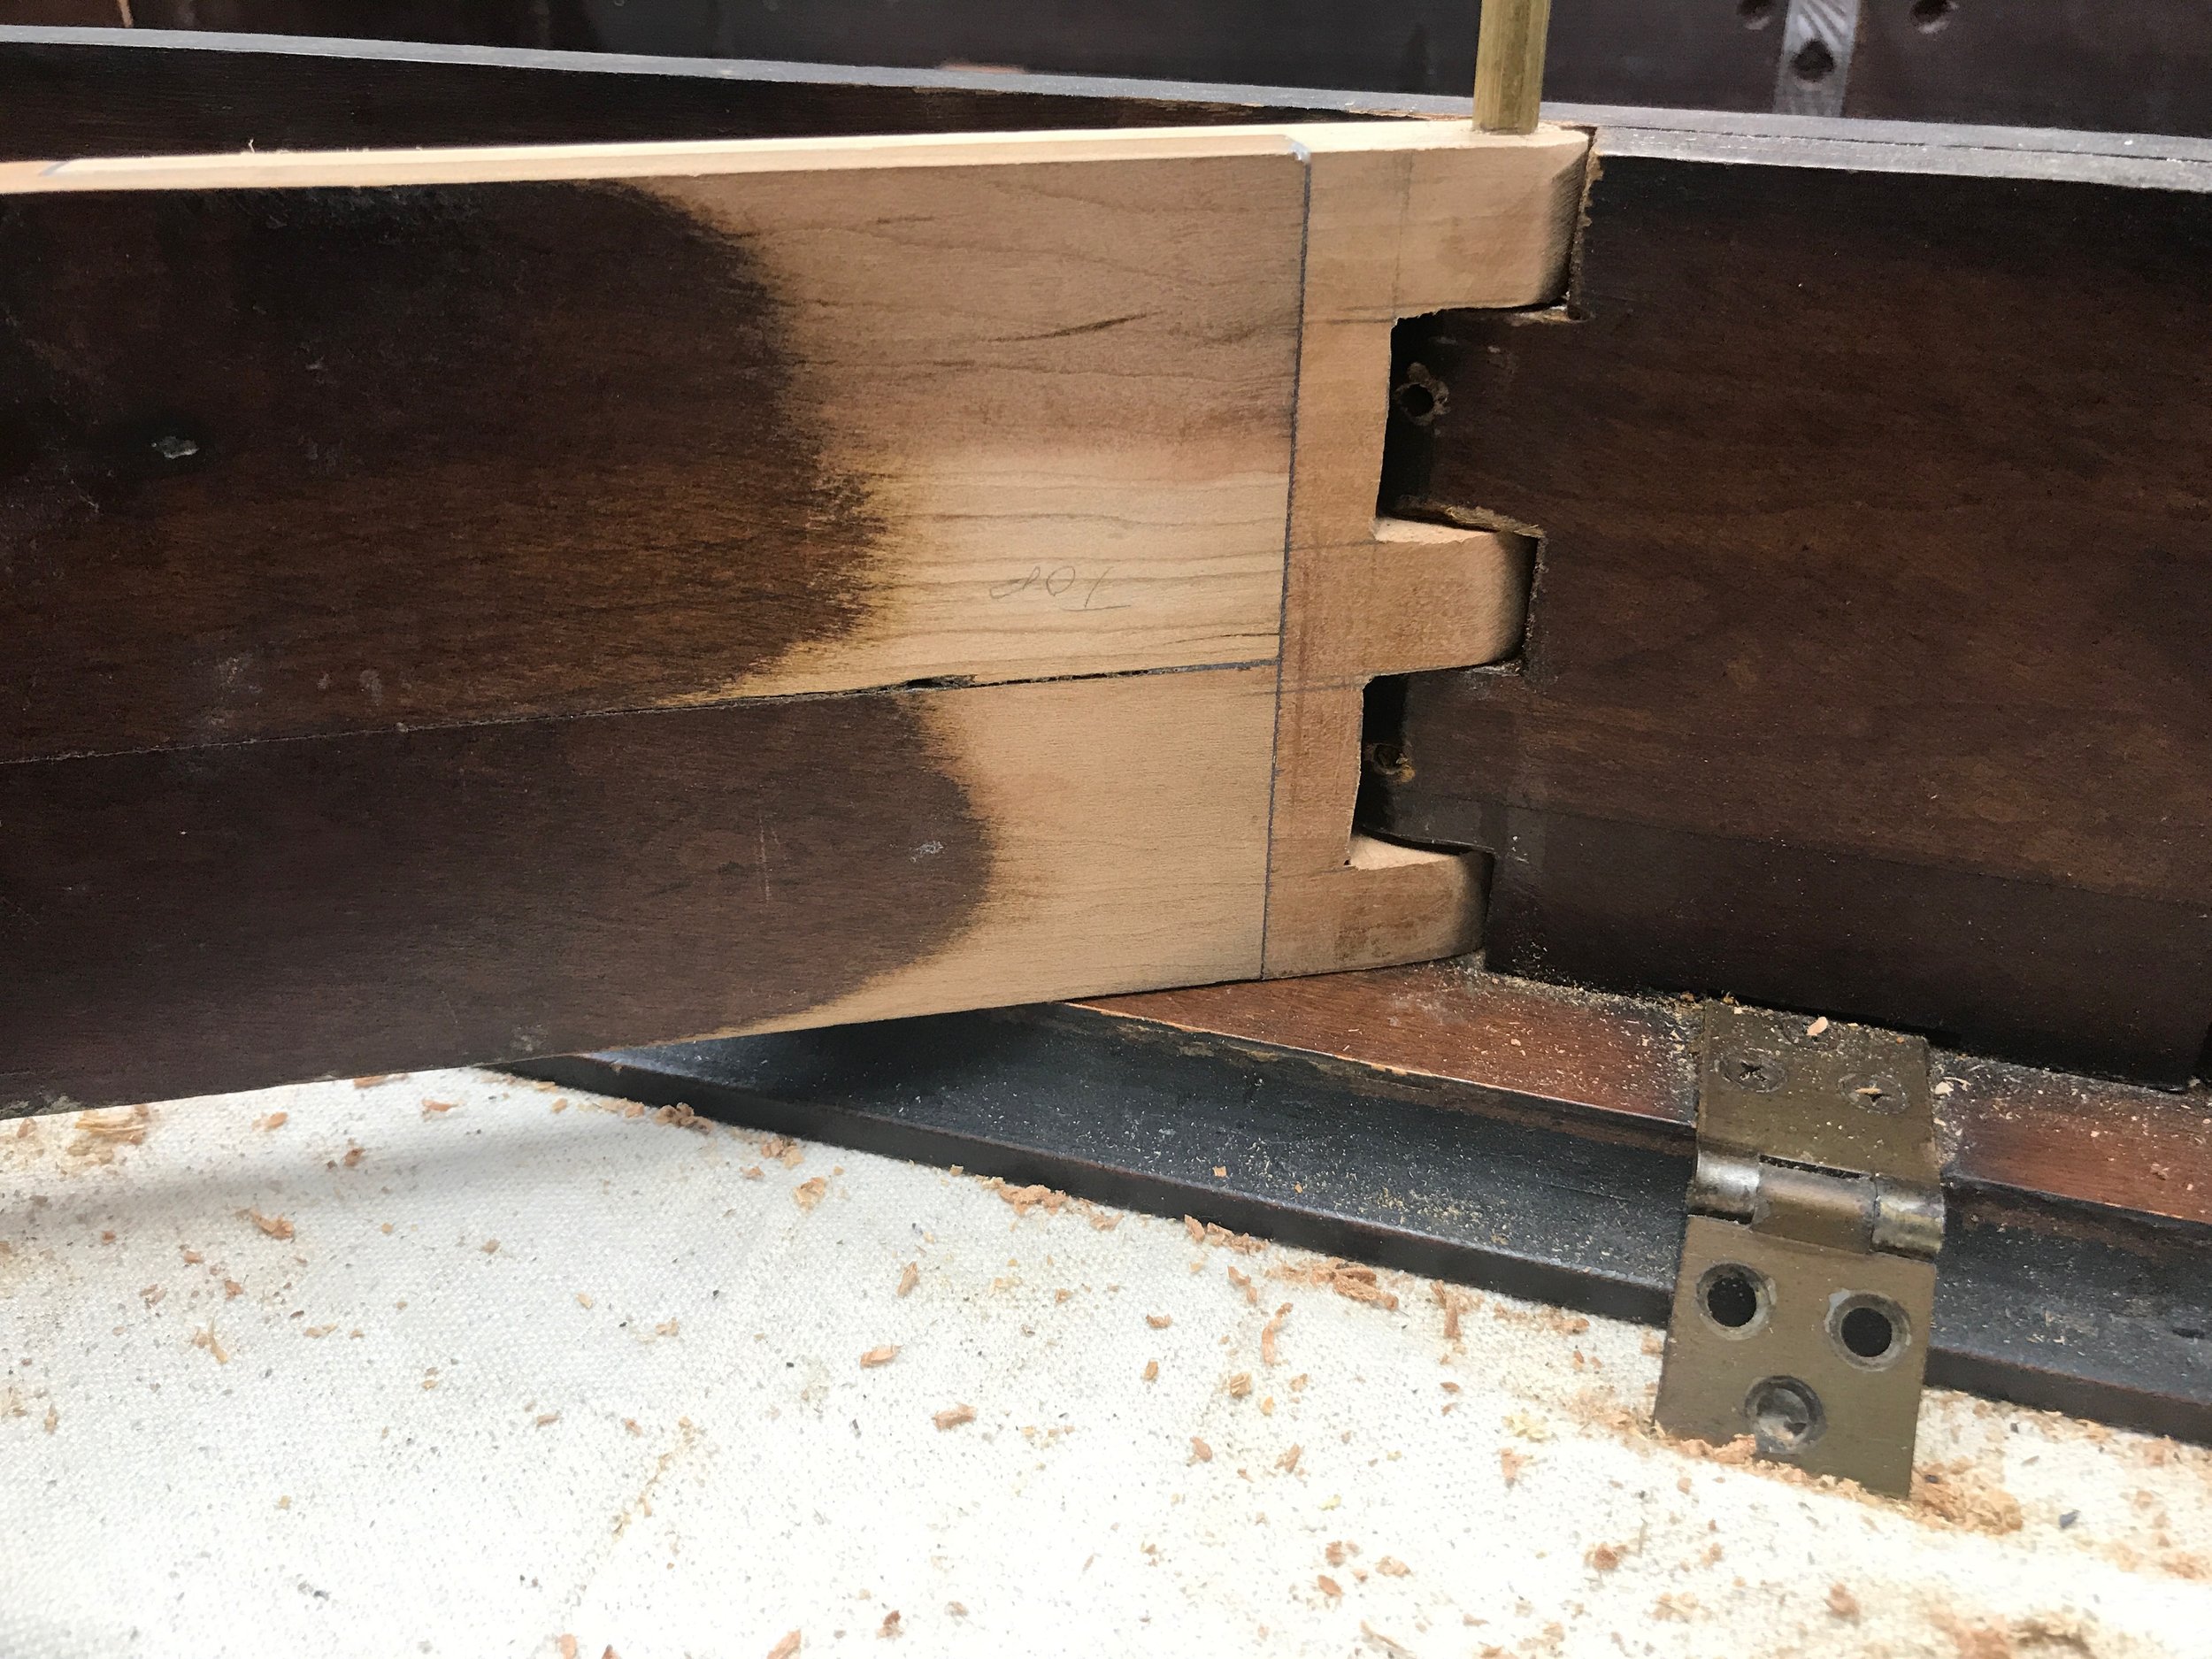 Image 10 of 11

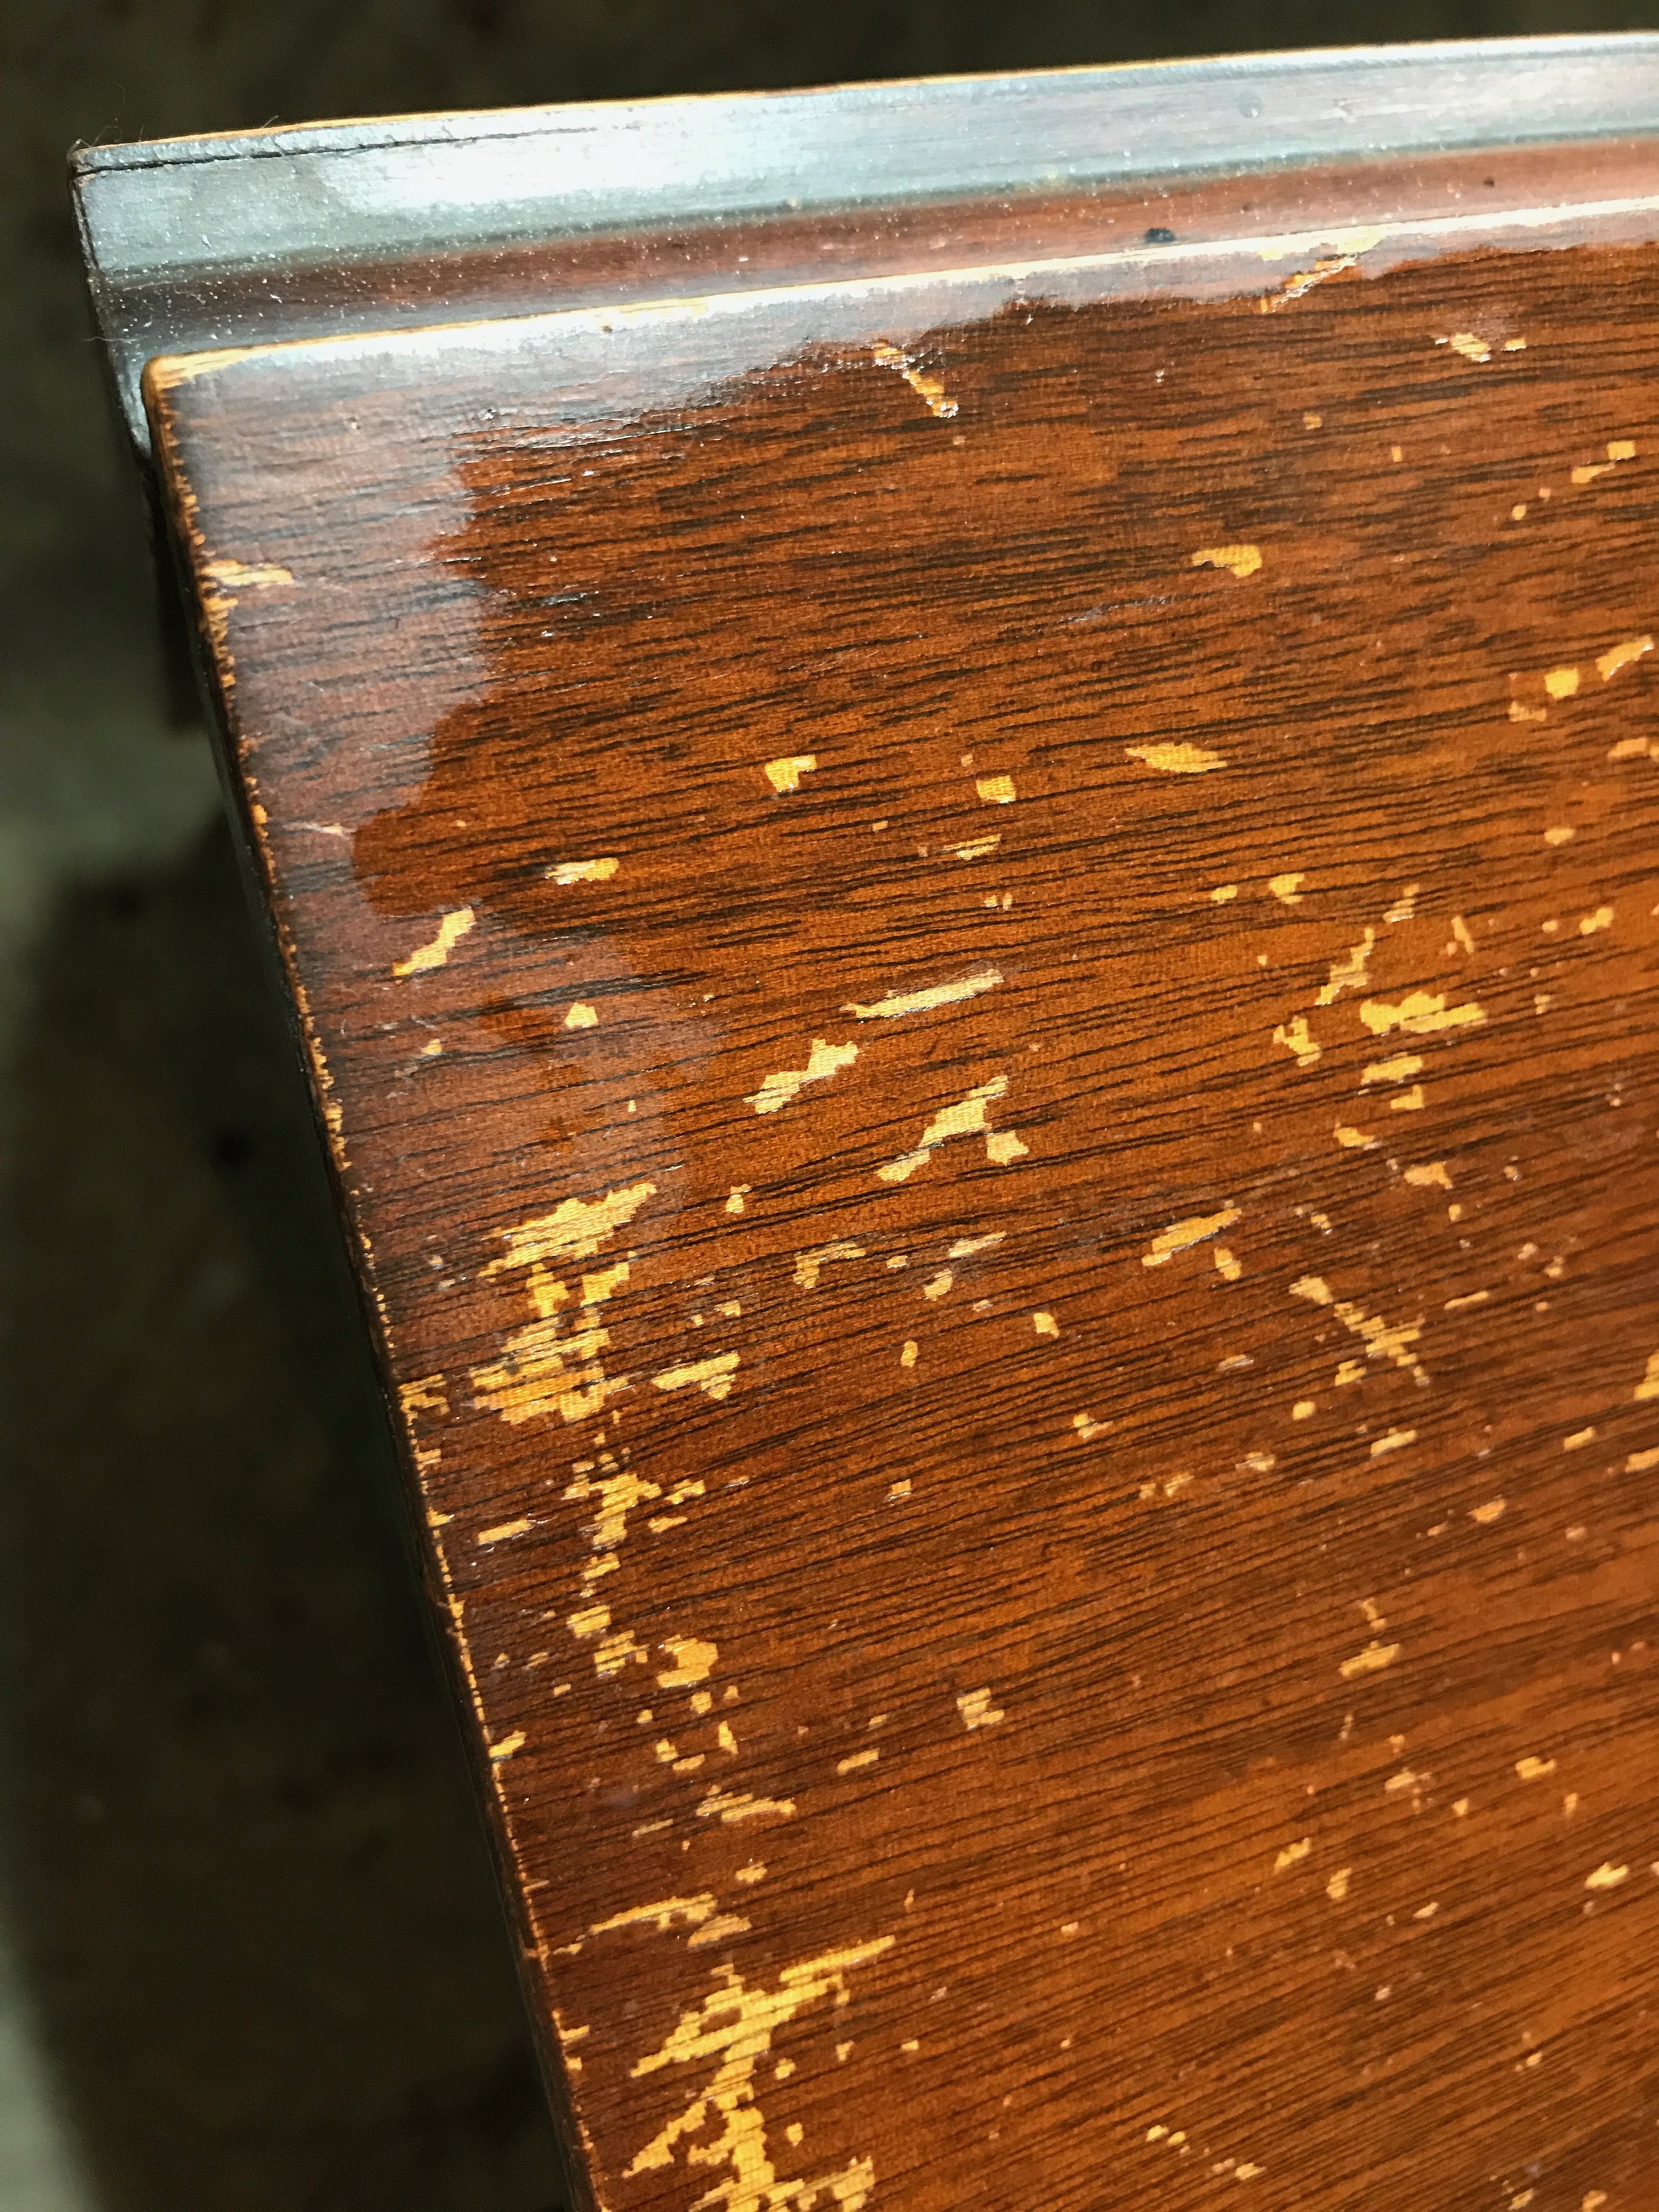 Image 11 of 11


Mahogany Dining Table [*SOLD*]
This vintage mahogany gate-leg dining table expands to over eight feet long with its four leaves inserted. Each solid mahogany leg has beautiful contrasting satinwood stringing along its length with a contrasting band of satinwood at the bottom, and at the top of each leg is a hand-painted decorative oval design feature. Mahogany banding surrounds the bottom edge of the table’s frame.
When I bought the table one of the legs was broken off, the wooden hinge pins shaped into the end of the leg stretcher had been fractured into pieces. A “repair” had been attempted by using a screen door hinge to attach the leg to the table. The good news was the top’s finish was in fair condition. I had thoughts that I might be able to repair and blend in the numerous blemishes on one end of the main tabletop, and just clean and wax the balance of the leaves. However, I consulted my YouTube “virtual mentor,” Thomas Johnson, of Thomas Johnson Antique Furniture Restoration (ThomasJohnsonRestoration.Com).
Tom lives in Maine and has been restoring furniture professionally since 1979 and comes from a multigenerational family in the woodworking business. Ironically enough, Tom grew up in Takoma Park and his Dad’s and brother’s shops were only a few blocks from my present home! I started watching Tom’s videos about three years ago and I highly recommend them even if you don’t need the technical information like I do; they are that interesting and well produced stories about furniture.
Back to my table, Tom said, “Yes, it's best to refinish the entire top. You could try cleaning and sanding the finish of the entire top, touch up the damaged area, and then recoat the entire top. But after all that work, if it's still not great, then you're left with a total refinish. Put it this way: if I had to do this job for a client, I would only consider refinishing the entire top.”
I took his advice and proceeded to strip and refinish 90 square feet of tabletop plus the bottoms of the leaves, quite a time-consuming task. But the result was worth it. After applying General Finishes Gel Stain and three coats of Minwax Polyacrylic Satin polyurethane, I rubbed it out with steel wool and an all-natural wax. The top shows a durable and mirror-like gleam.
As for the broken leg, I dimensioned a piece of mahogany to match the width and thickness of the stretcher, then cut matching four-inch rabbets in each piece to ensure a good gluing surface area and grafted the new piece onto the old. After the glue dried and cutting it to the original stretcher length I had a solid foundation to make new hinge pins on its end. Carefully marking the pins and matching cutouts against the table frame, I used my Japanese hand saw and chisels to cut away the waste. I used my drill press to drill a carefully centered hole down from the top edge of the pins. Now the leg’s stretcher and table frame could interlace like fingers, and a dowel could pass through all the holes linking the pins together into a new hinge.
This item never made it to market – it was given as a housewarming gift to my son Jeff and his wife Grace for their vintage 1934 Art Deco home in Washington, DC. It’s a perfect fit in so many ways!
Dimensions: H 31"x W 40" x D 98"
